|
How to make Spacecraft thrusters
|
Spacecraft thrusters have long been the bane of the amateur striving to get
a good effect - in the following tutorial I will endeavor to provide for you a method I
have often used to good effect. First we need to give our thrusters some "body" as
it were to simulate that afterburner effect that people generally love to see - and to do
this we are going to use some of the standard lights that come with
LightWave::.
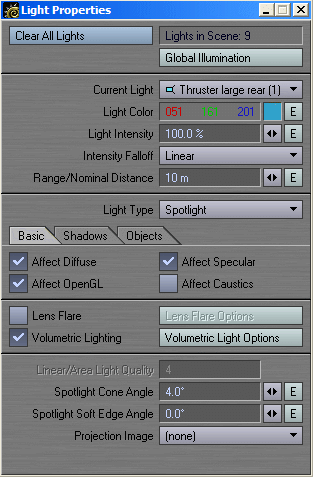
firstly your light needs to be a spotlight and you have to place it
like I have below - - note how far forward I have placed the origin of the
spotlight - this allows me to constrain the spotlight cone angle to a nice
afterburner type effect - I then also eliminate the cone soft edge too or it won't be
seen, a 4 degree cone with a 4 degree soft edge will make it invisible!

through trial and error I found these to be the best settings for the cone
- .
 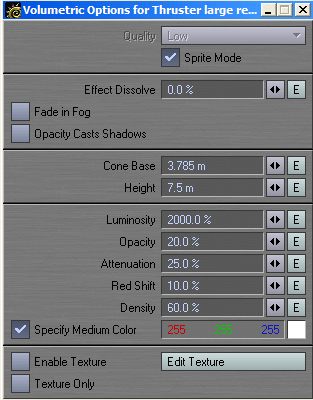
be aware that Viper supports volumetric lights and is excellent for
on the fly adjustments of the volumetric light until you are satisfied with it - but you
must first make an F9 render for Viper to collect all the volumetric data for
you
note in the images where I have placed the height and base of the cone -
the base is just in front of the polygon that makes up the thruster vents and the height
is for all intents and purposes where the effect will cease.
|
So what does it look like rendered with ray traced shadows and anti
aliasing then?
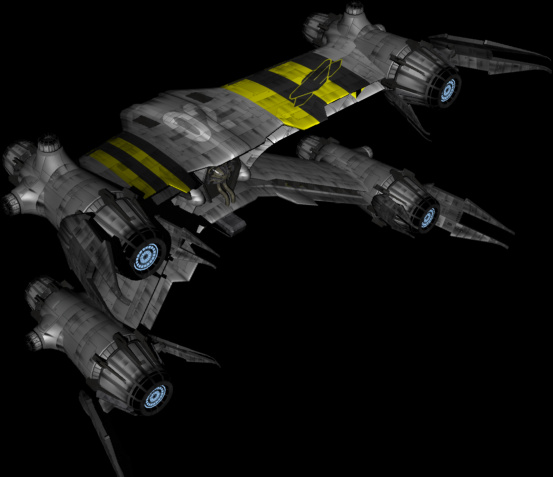
well as you can see the volumetric lights are not there! - Why? well it's simple when
you realise what's happening - the source of the light is hidden! either behind or
inside your geometry! so how do you fix this? Go to your Object Properties panel to the lights
section tab ...
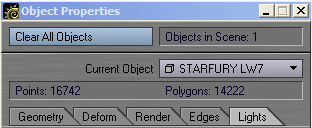
and tell the object to exclude all of the volumetric cone lights for the rear thrusters
- the result?

|
even if you render the volumetric lights in sprite mode like
so
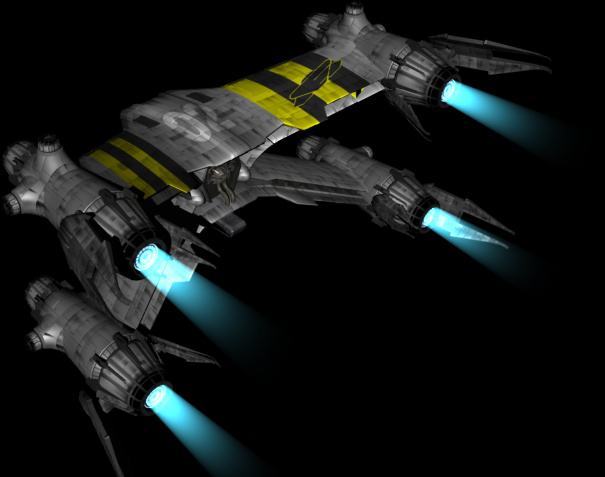
it matters very little to the time taken to render these volumetrics -
which is to say the least constraining for animation's - if you had a render farm working
with a few CPU's at your disposal well go for it - but a single machine - you could be
waiting a long time for all these frames to finish rendering!
|
Is there an alternative?
well yes!
|
first off the bat I would suggest whipping up some point lights
(parented to the objects as required) to make use of their lens flare options in
order to give your thrusters some life like so:
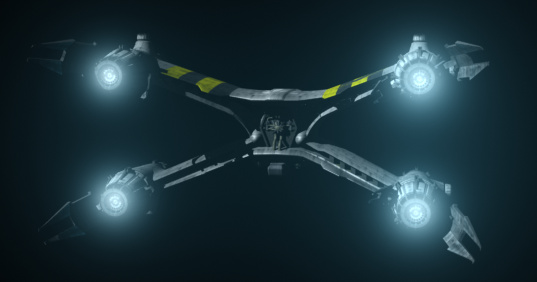
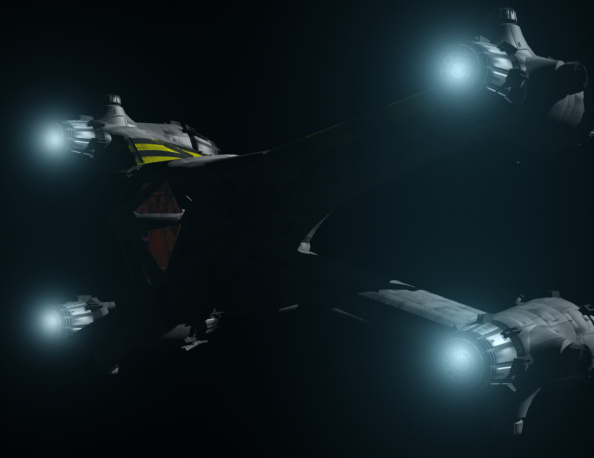
these look fairly good - but not really indicative of a good high powered thruster outlet. We
could duplicate the lights to make them brighter or alter their settings to make them
brighter - but what we would get is exactly that -- brighter points of light - and not
an illuminated thruster vent - which is what we are after...
|
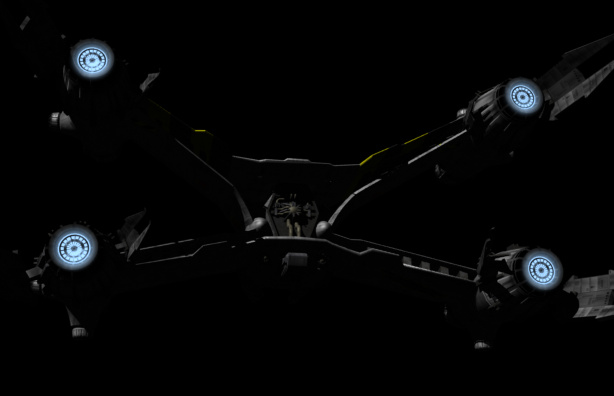
so next I would suggest whipping up some luminosity maps for the
thruster vents - (which just needs some simple work in Photoshop to achieve by working
on a copy of the diff map already used) and then place that in the luminosity
channels for the thruster vents with a bit of post process glow effect and we'll
get something like this with just the luminosity maps and the point lights taken
away...
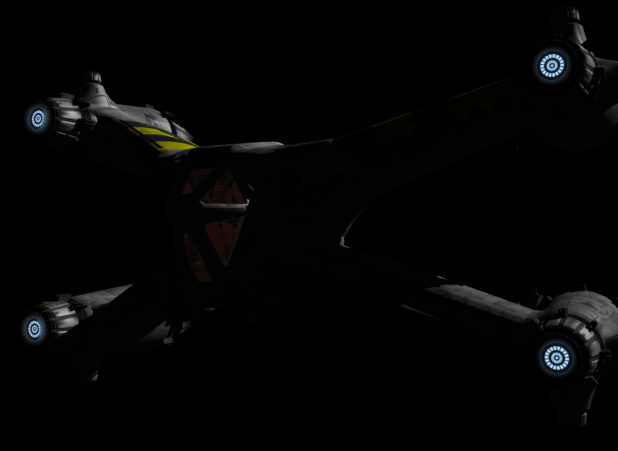
|
out of interest what would the thrusters look like when animated by purely
using the luminosity maps as the light source?
let's have a look...
|
well that's not that bad... even looks good as the engines fade with
distance with a nice dwindling twinkling effect - but.. Well it's not really bright enuff
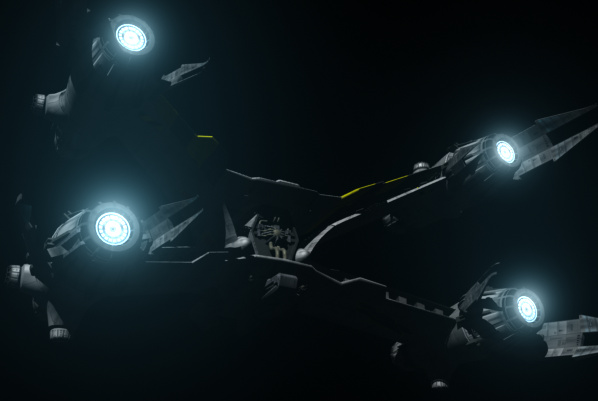
is it? So now if we combine the lens flares with our luminosity maps what would we
get?
|
the question now is what does this look like when animated - now I have to mention that I have
given the rear point lights lens flares a fade with distance option and the nominal
distance is about 30 m - which should be sufficient otherwise we would just get the
flares staying mega bright even as they disappeared into the ether.. What does it look like
then....
|
whoa!! What happened there then!? The flares dwindled like they
should have and then everything got brighter and the fury looked like it
exploded?
well I can say this puzzled me for a while too until I realised what was
happening. The front thruster lights had flares set that had the fade behind objects
options on - and you would theorise that as they were hidden they would never
show?
Well lens flare is a post render process and as the fury got further and
further away the geometry became virtually non existent - in particular "smaller"
than the basis for the post render process and the front flares became more and more
visible again!
The solution was to enable them with the same settings for their fade with distance as for the
rear flares - and the result was satisfactory:
|
as you can see as the flare dwindles away to nothing in the distance the
glow effect comes into play and because the glow is generally around 8 pixels it does
enuff illuminating to carry on the effect of the thrusters whilst far away in the
distance 
|
what is the benefit of all this extensive setup with the flares? Well
almost a 60% decrease in render times as opposed to the volumetric method!! Which
means faster renders and quicker animating times - and it looks just as good - well in my
book anyway. 
|
|
|
|
Need help detailing your spaceships? Have to make a
cityscape fast? Need to fill any area with random believable
detail?
The
Ultimate Greeble & Nurnie Collections will make light work of any of your Projects! Check them out now!

|