|
Making Asteroids
|
There are many good tutorials on the net on how to make good
asteroids. Many techniques are very similar to others. This is a technique I use - and
it's to be honest similar to most of the others that there are out there.
Start off by making a box in Modeller - a simple box of any
dimensions with settings at default - i.e. no further segments - Then subdivide
this box using the metaform option with the values at default - One point here a
smoothing angle of 90 or less won't do much if anything at all to the resultant
subdivide - with an angle of greater than 90 degrees you'll get something like
this:
|
|
|
Now - repeat this process once more but this time specify a value of
up to 2.0 in the fractal box - Fractal basically applies a random jitter to the new
points created. Now the jitter radius is a fraction of the edge length. A value of
1.0 will jitter the new points by about 50% of the length of the edge that
they'll subdivide. A value of 0.1 will cause a 5% jitter and a value of
2.0 will cause 100% jitter or the full length of edge being divided.
One thing worth mentioning is that subdivide will generally divide 4-side
poly' s into smaller 4-sided poly's.
Now you should have something like this:
|
|
|
|
You can do it again for more detail or stop right here and then hit the
TAB key to metaform the object. Now use the control points to deform your
rock to your taste:
|
|
|
|
Right now at this point you can freeze the object - Remember that before you
freeze the object you can hit the "o" key for options - which will show you this
options screen
|
|
|
|
You can set the mesh to be made from purely Quads or Triangles
or Automatic - where Modeller will make the mesh using Quads and Triangles in
optimum places. The other main box we're concerned with here for now is the patch
division one -- A value of 1 will create relatively few poly's
in the final mesh - a value of 2 will be better: See below
|
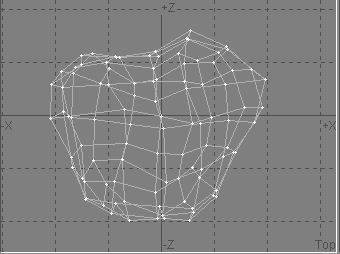
Patch division Value = 1.0
|
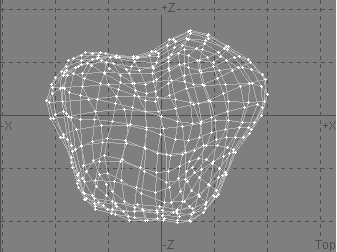
Patch Division Value = 2.0
|
At this point apply suitable surface with a good smoothing angle - say
about 60 degrees and if you're happy it's ready for texturing.
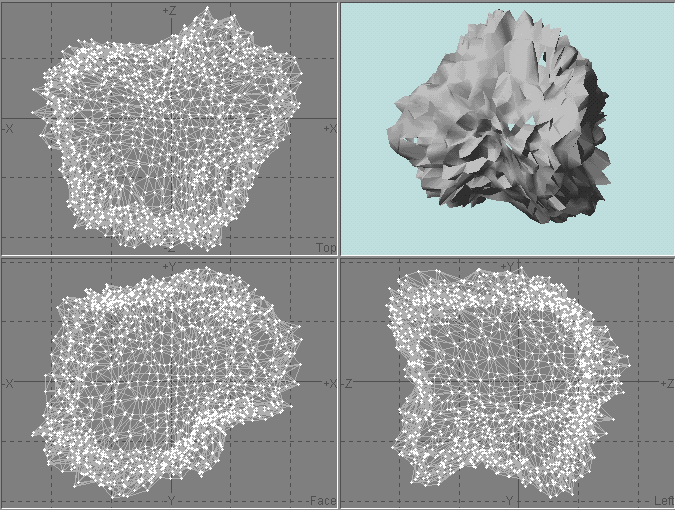
To apply a little more detail undo to before you froze the object and then
set the options to create an automatic mesh with patch division value of 2.0 and
freeze it again. Then apply a jitter to the object with the options set to scaling
and a factor value 0f 12% - you will get a horrible mess like this:
|
to tidy everything up apply a metaform again with a patch division of just
one and freeze - now onto surface smoothing
|
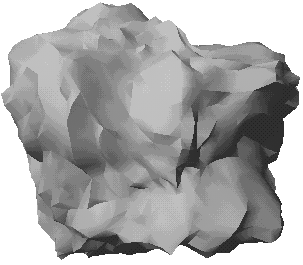
Smoothing angle 45 degrees
|
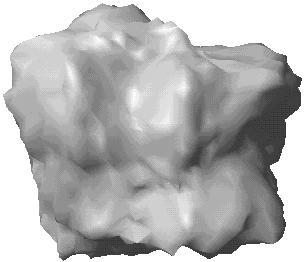
Smoothing angle 80 degrees
|
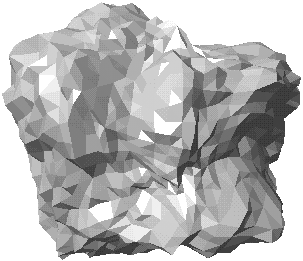
No Smoothing at all
|
|
Texturing your asteroid is really a matter of taste: And as such the
texturing can be pretty powerful - so much so that realistic effects can be achieved with
simple meshes
|
|
Need help
detailing your spaceships? Have to make a cityscape fast? Need to fill any area with random
believable detail?
The
Ultimate Greeble & Nurnie Collections will make light work of any of your Projects! Check them out now!

|